
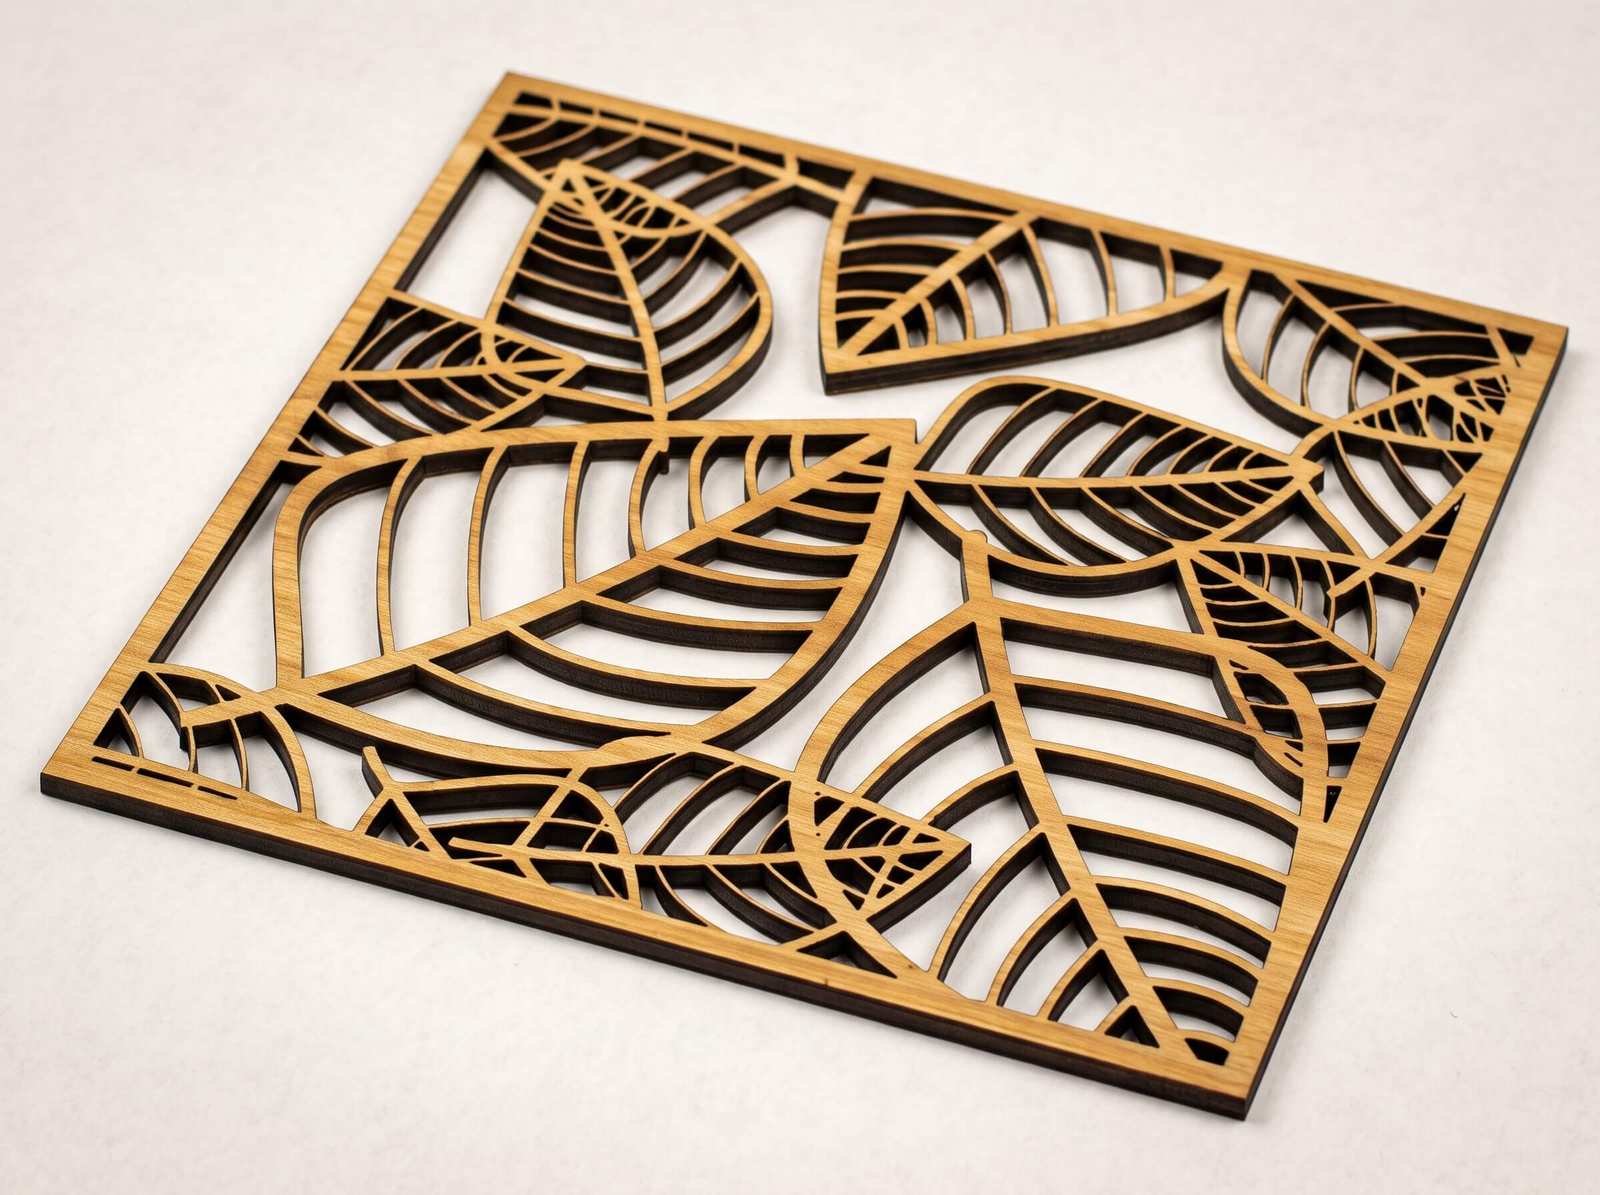
Multi-Layer Laser Cut Files
Stacked cut-outs are what turn flat sheets into depth, shadow boxes and layered art.
Multi-layer designs are some of the most popular laser cut files online: layered mandalas, shadow boxes, topographic maps and 3D portraits. The idea is simple. You cut several thin sheets and stack them so each layer adds depth. The difficulty is in preparing the file so every layer lines up and cuts correctly.
6 Steps to a Good Multi-Layer File
Plan the stack
Sketch how many layers you need and what each one shows. Four to seven layers is a good range for a first project.
Match the sheet thickness
Decide on one material thickness. The total height of the stack is the number of layers times that thickness.
One layer, one shape set
Draw each layer on its own named layer in your software so you can show, hide and export them separately.
Add alignment marks
Put small holes or notches in the same position on every layer, so the stack locks into place when you glue it.
Color-code the cuts
Use a different stroke color per layer. Your laser software can then assign a speed and power to each color.
Test on cheap material
Cut one small version on cardboard first. It reveals gaps and misalignments before you spend good wood.
Which Software Should You Use?
Inkscape
Free and powerful. Strong layer controls, ideal for beginners on a budget.
Adobe Illustrator
Professional choice with precise path tools, if you already have a subscription.
Canva
Fine for simple shapes exported as SVG, but harder to control for precise multi-layer work.
Pro tip: leave a little room
Remember the kerf, the thin line of material the laser removes. For pieces that must slot together, test fit on scrap and adjust the sizes in tiny steps rather than guessing.
Once your first stack goes together cleanly, the same process scales to any layered design you find or create.