
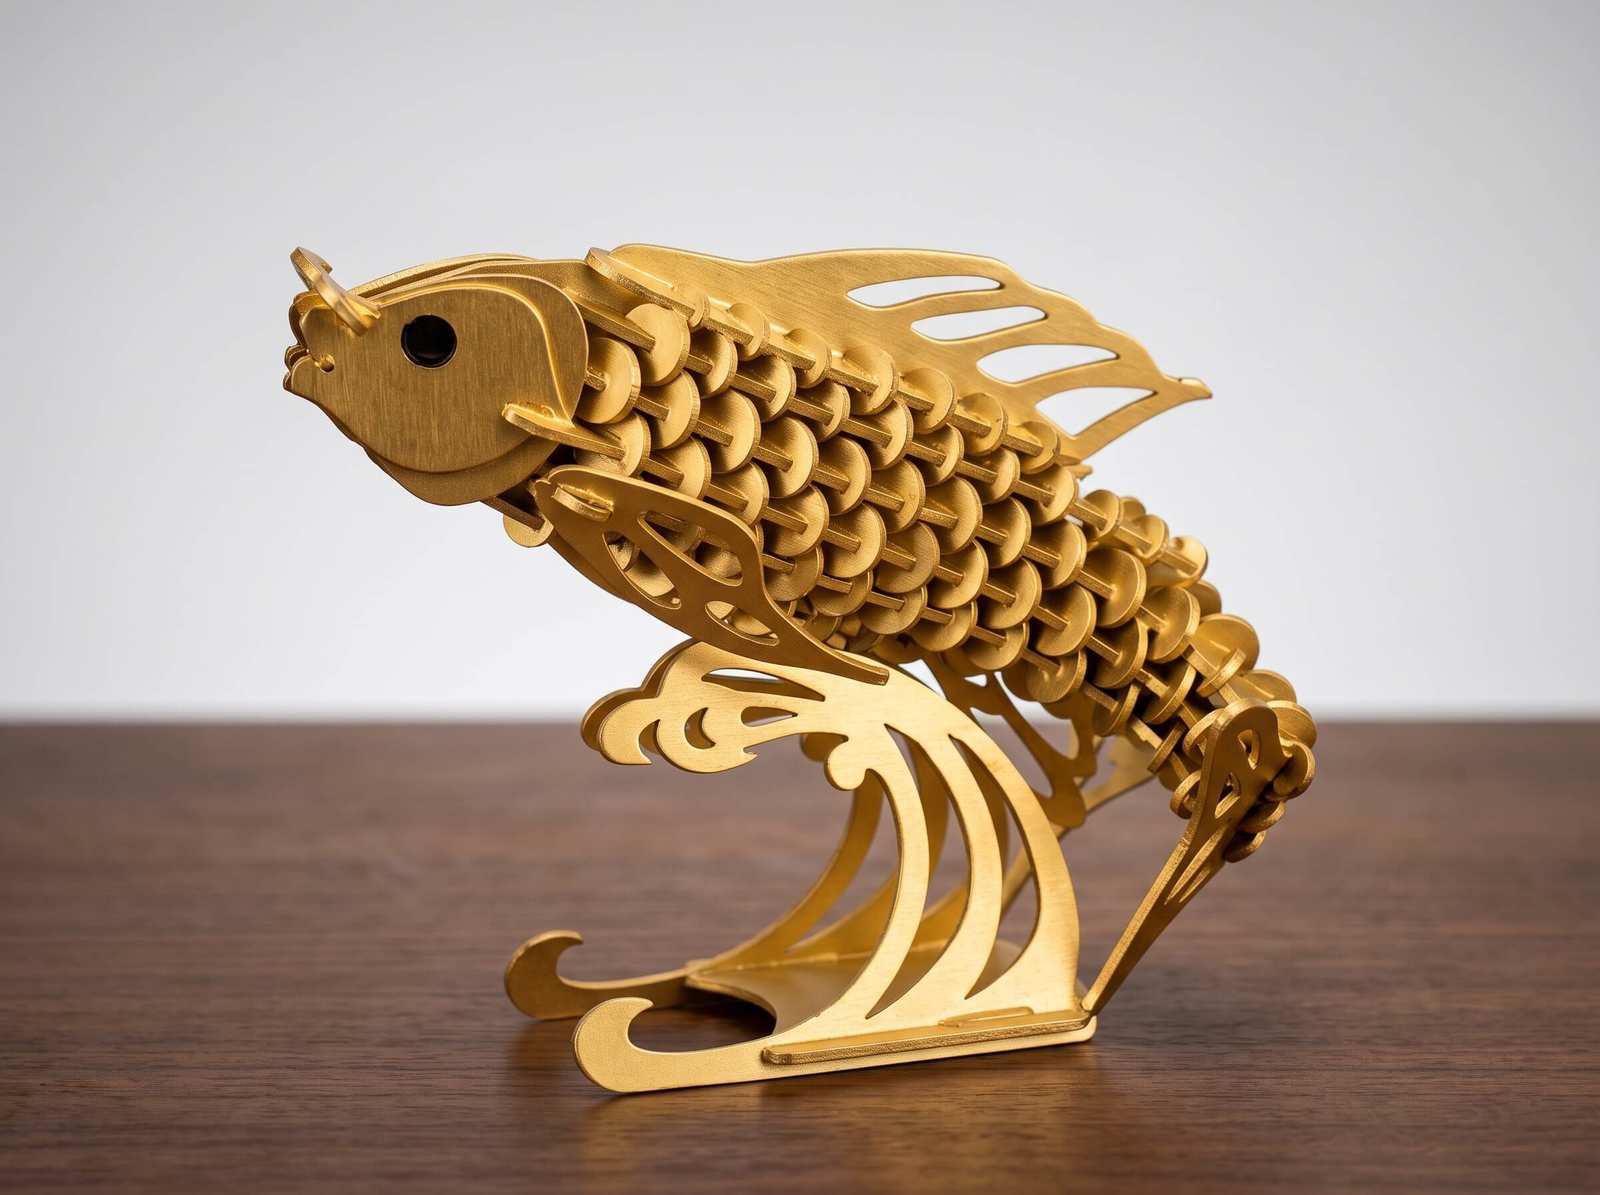
Your First Laser Cut in 7 Steps
From blank file to clean cut, with every check a beginner needs.
A laser cutter looks intimidating the first time you stand in front of one. The truth is that the whole process comes down to a short, repeatable routine. Once you learn it, every project from a keychain to a layered sign follows the same path.
Machines and software differ, so treat this as the universal outline and check your own manual for exact button names.
The 7 Steps
Choose a simple material
Start with 3 mm plywood or cardboard. They are forgiving and cheap, so mistakes cost almost nothing.
Prepare a vector file
Use an SVG or DXF with clean closed shapes. Raster images like JPG only engrave, they cannot cut.
Load the design in your software
Import the file, check the size and set cut lines and engrave areas on separate layers or colors.
Set power, speed and passes
Begin with the recommended settings for your material, or run a small test grid to find the best values.
Place and focus the material
Lay the sheet flat on the bed and set the correct focus distance. Poor focus is the top cause of weak cuts.
Turn on ventilation and run the job
Start the exhaust fan and air assist, use the frame or preview function, then press start and stay beside the machine.
Inspect and adjust
Check the result. Not through? Slow down or add a pass. Too burnt? Raise the speed or lower the power.
Watch: Laser Cutter Basics Tutorial
If you learn better by watching, this tutorial walks through the basics of using a laser cutter from start to finish.
Beginner safety rules
- Never leave a running laser unattended.
- Always use the exhaust and keep the lid closed while cutting.
- Only cut materials you know are laser safe.
- Keep a fire extinguisher within reach.
Do three or four practice cuts on scrap before your real project. Write the settings that work on a sticky note by the machine, and you will build your own material library within a week.